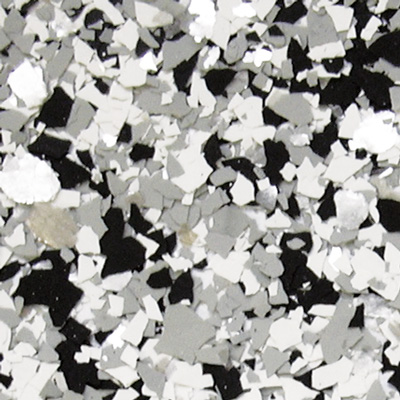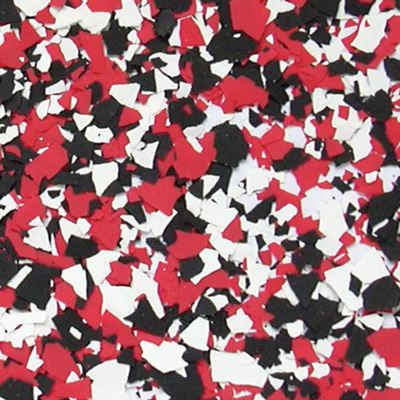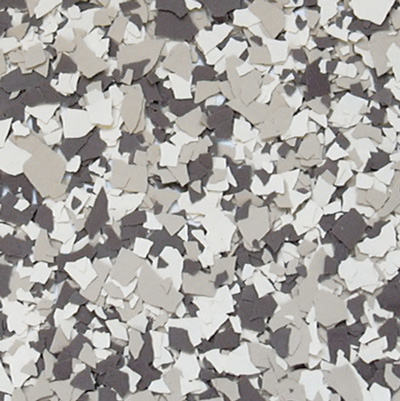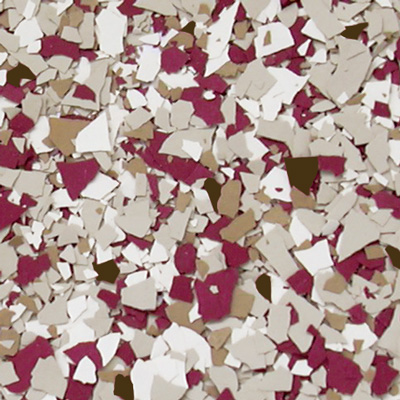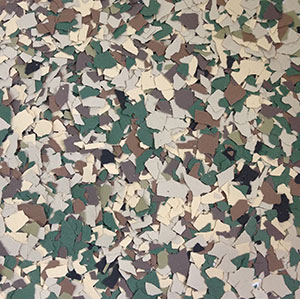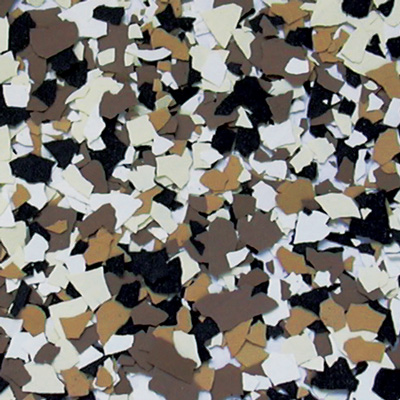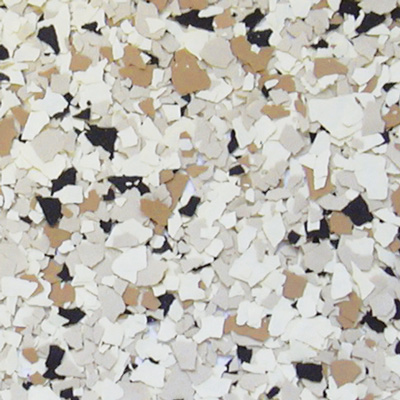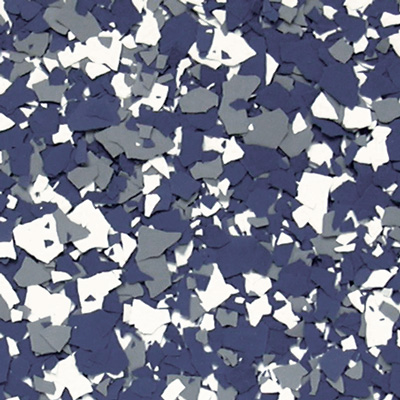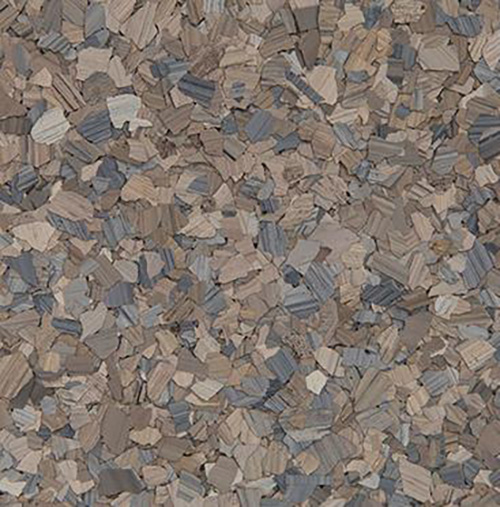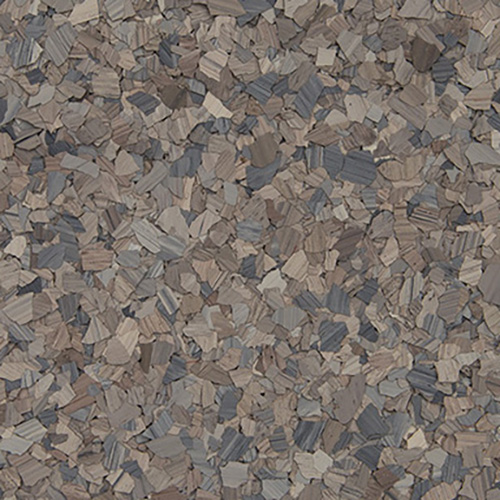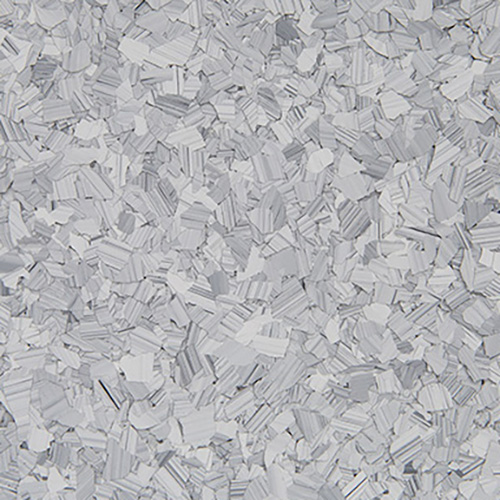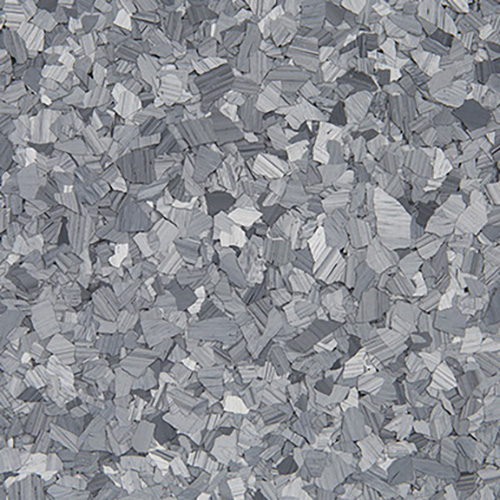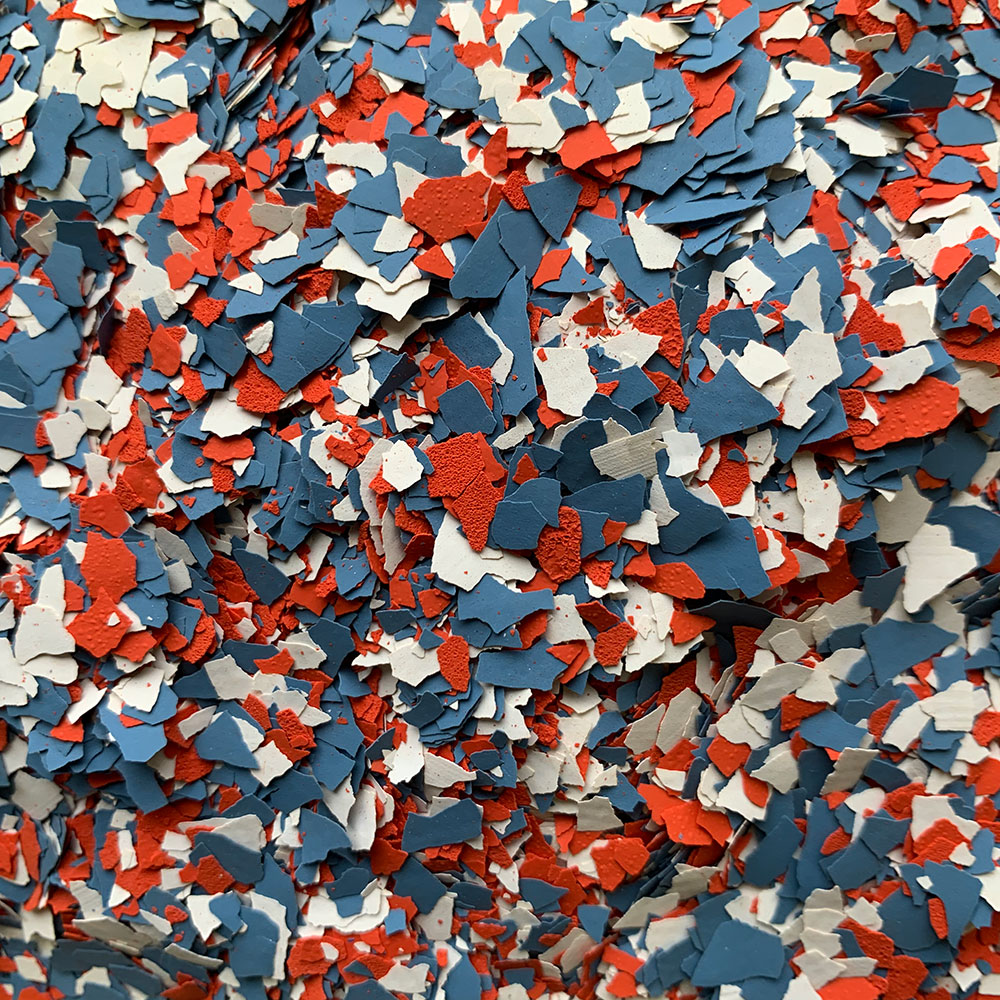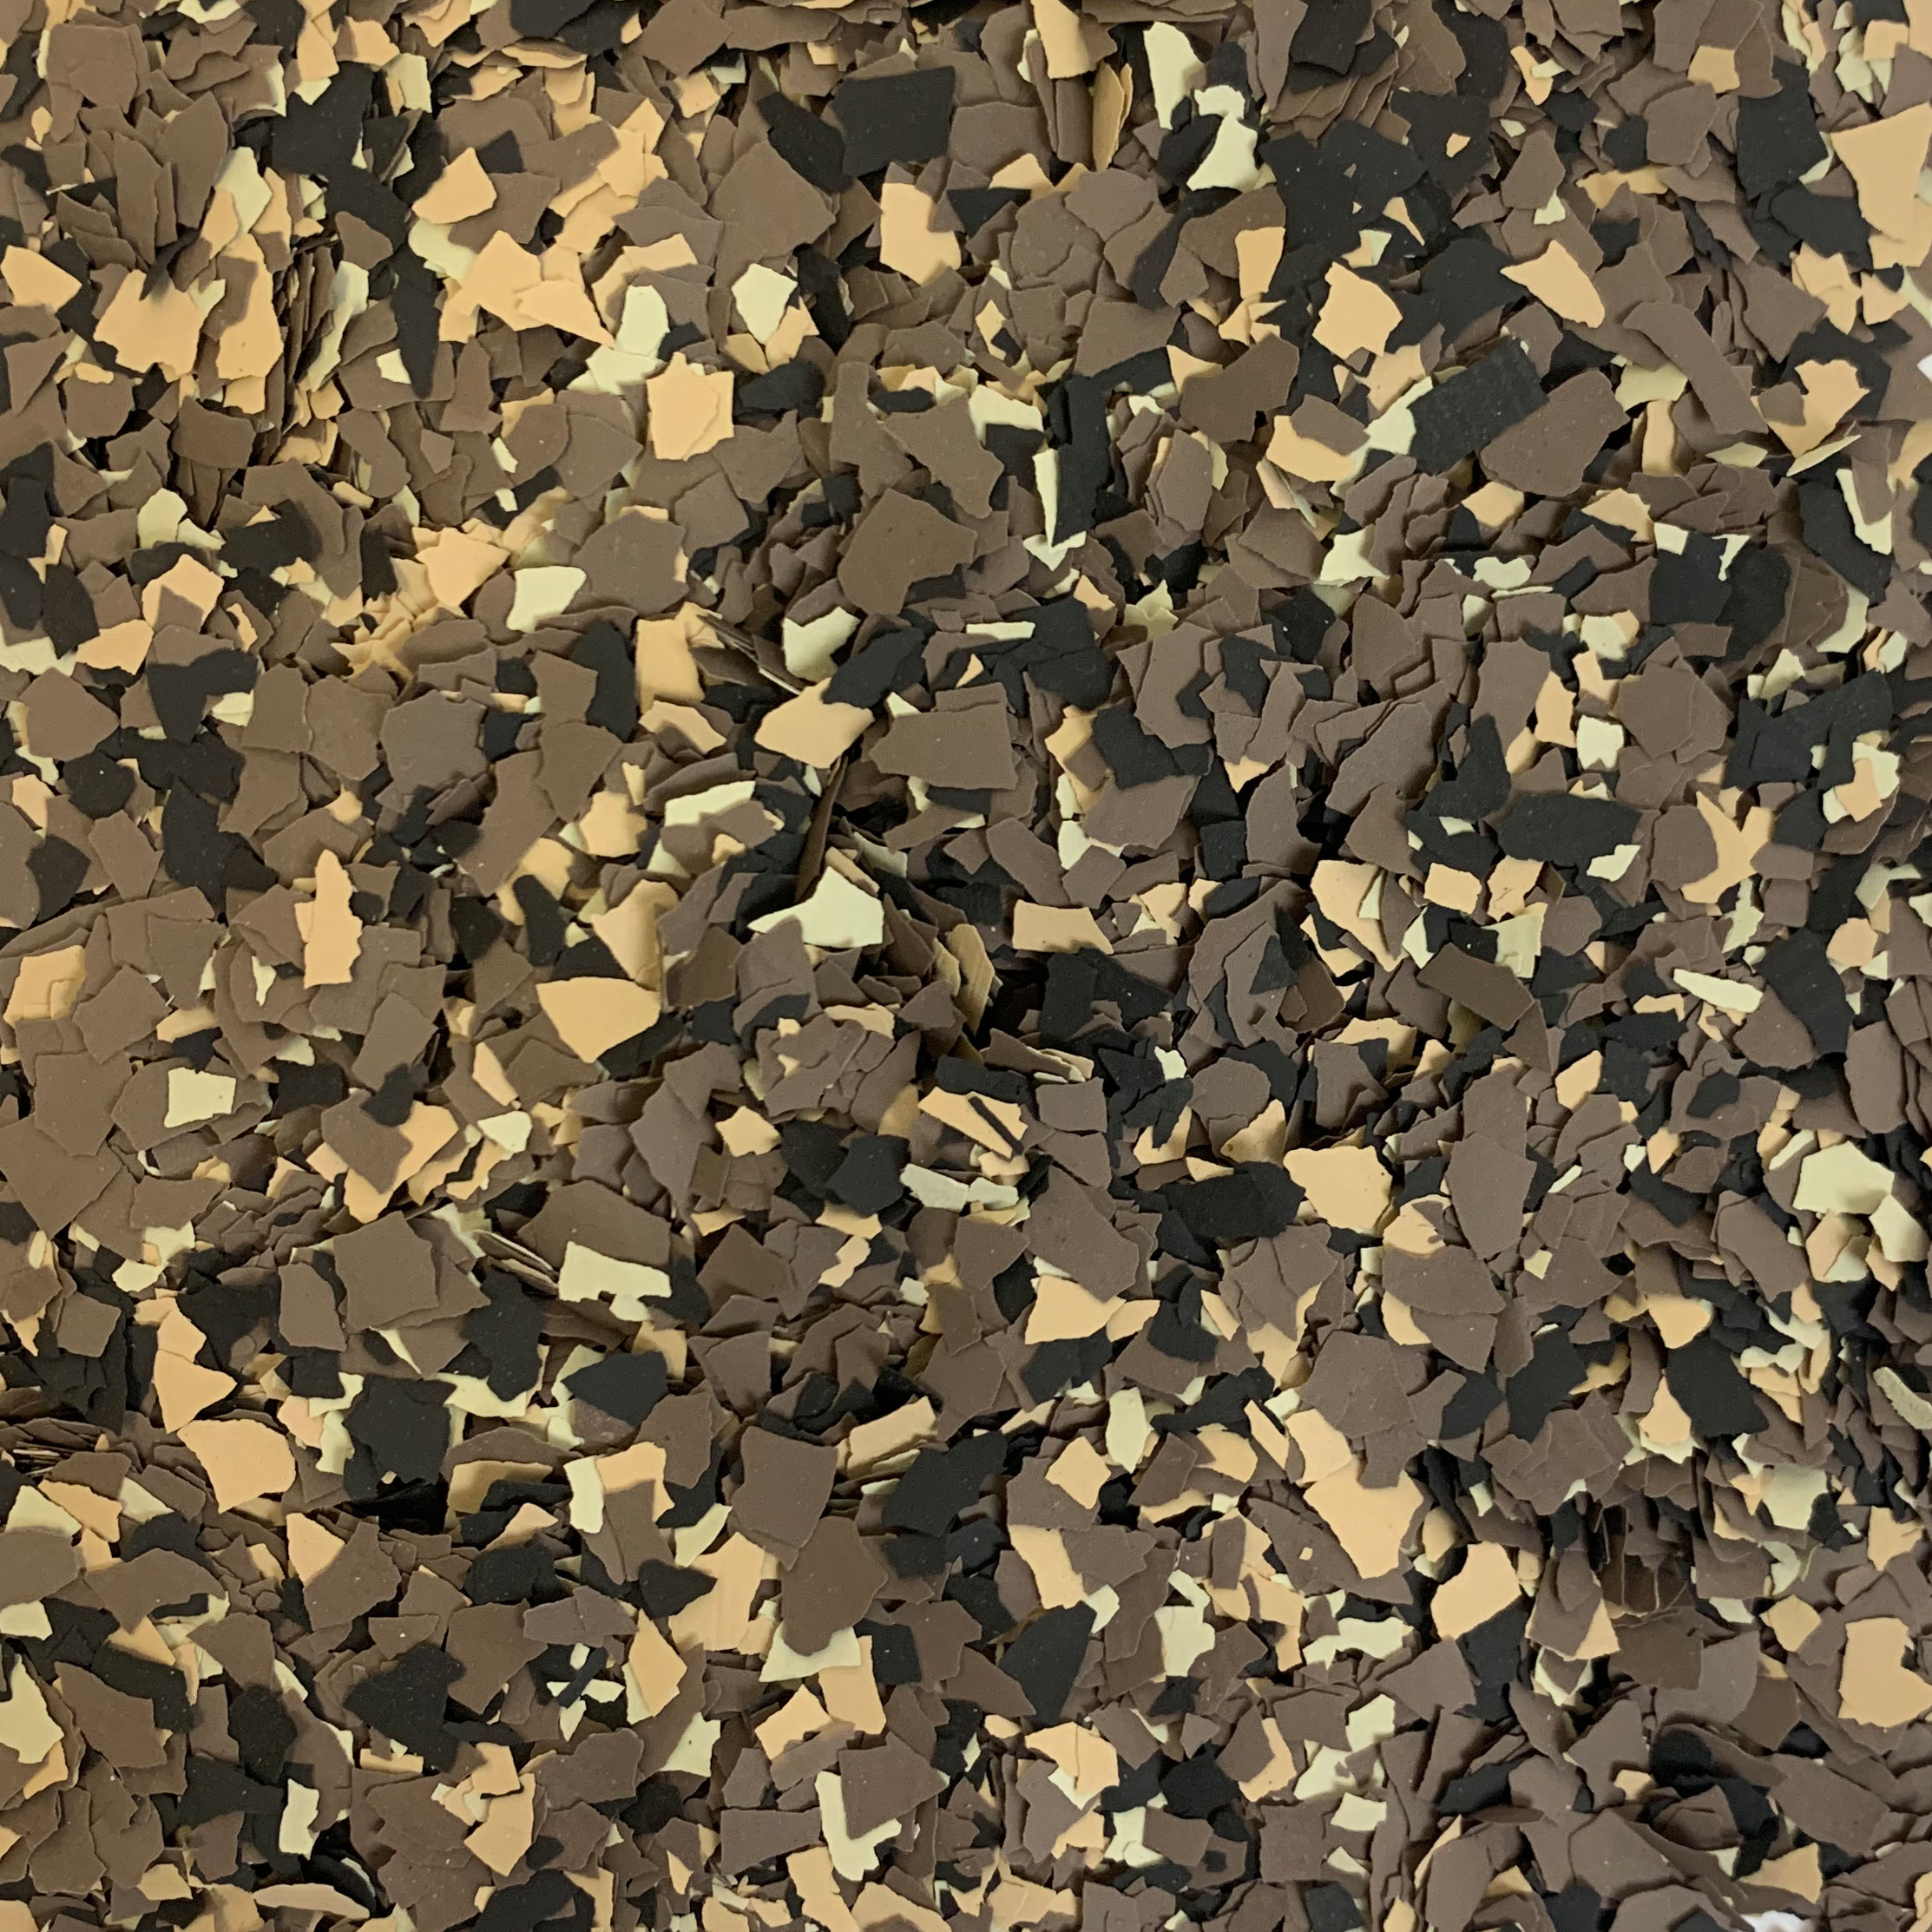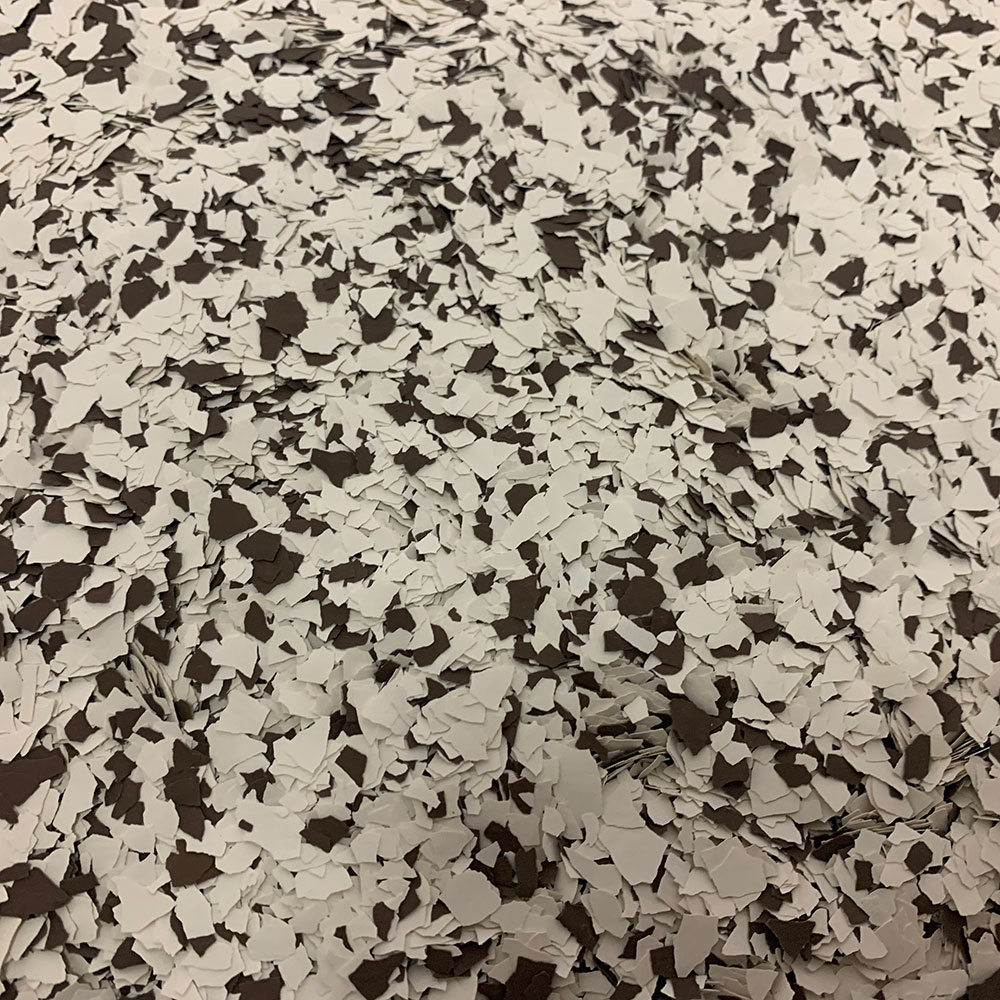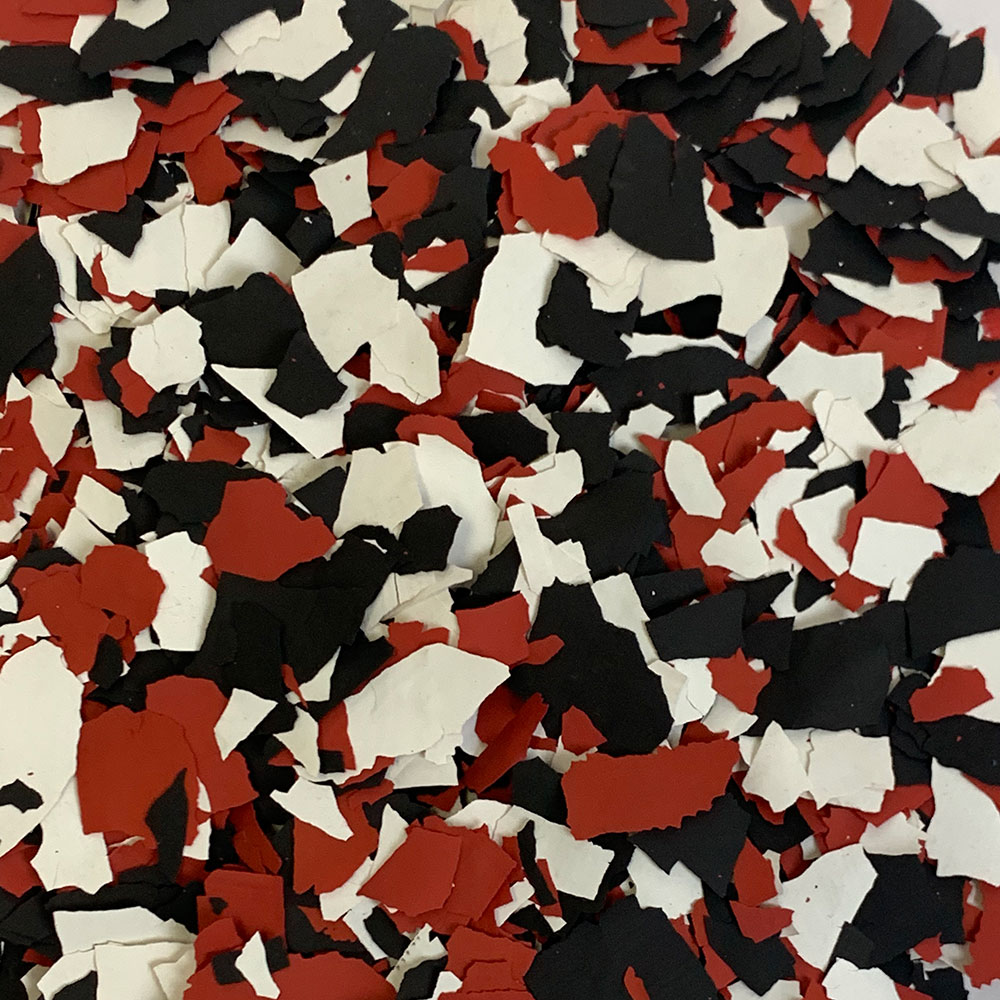

We offer several different types of coatings systems depending on your application. Customer satisfaction is our number one priority. So if you need any questions answered or need help with this site just contact us at 1-765-228-6252 and we will help you in anyway that we can. Please allow 24 - 48 hours for a response for we have quite a bit of traffic.
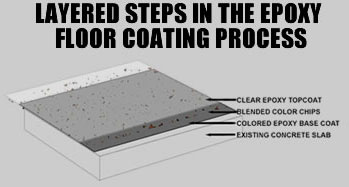
1. Existing concrete slab 2. Colored epoxy basecoat 3. Blended color chips 4. Clear epoxy topcoat
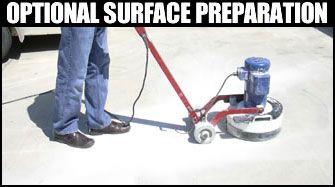
The ideal method for concrete prep whether it’s bare, new or previously coated concrete would be to use a floor grinder. Or if you’re coating concrete that has been sealed with a sealer, it is necessary to use a floor grinder to prepare the concrete. Using the grinder will open up the pores of the concrete to allow the epoxy to sink in, therefore achieving maximum adhesion.
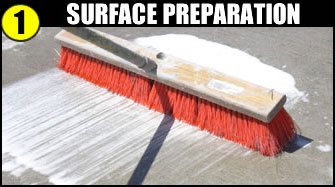
Use etch-n-clean (acid wash) to open the pores of the substrate as well as remove oil and other unwanted contaminants to provide maximum adhesion resulting in a sandpaper like finish.
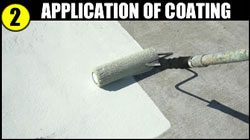
Mix both components of the basecoat epoxy together thoroughly and begin “cutting in” the outside parameter. Begin rolling the epoxy basecoat in six by six foot sections starting in the further most corner of the room.
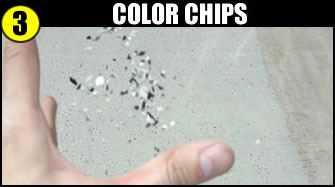
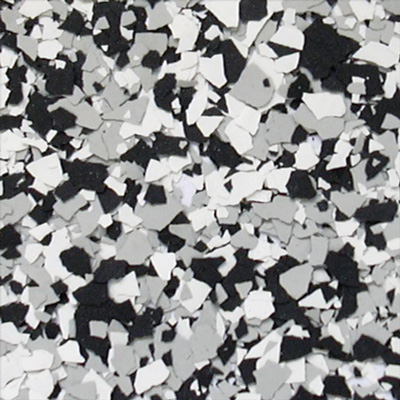
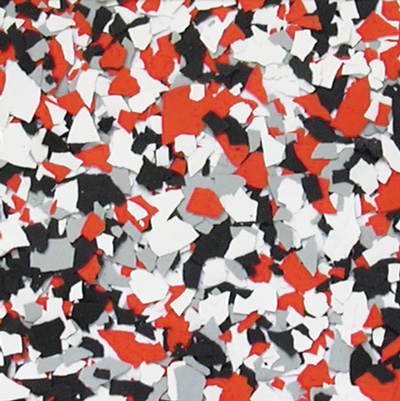
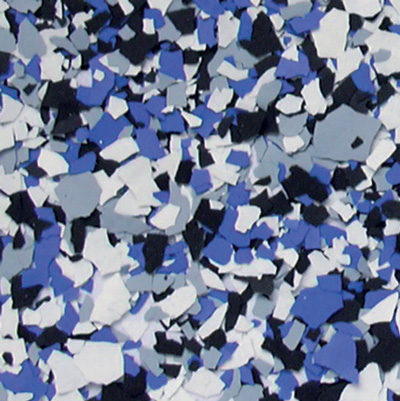
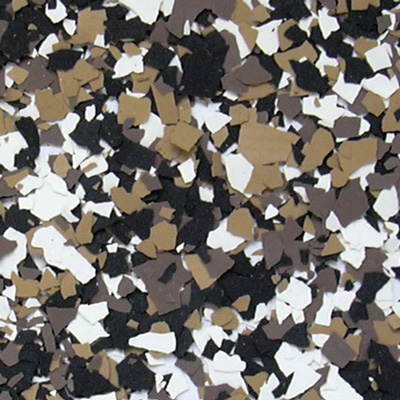
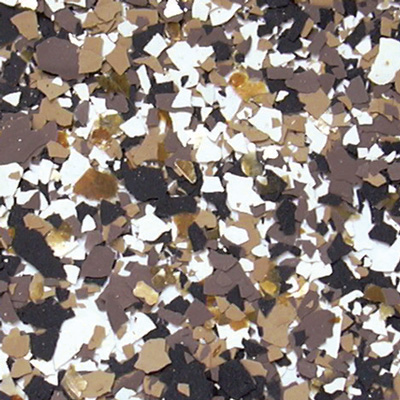
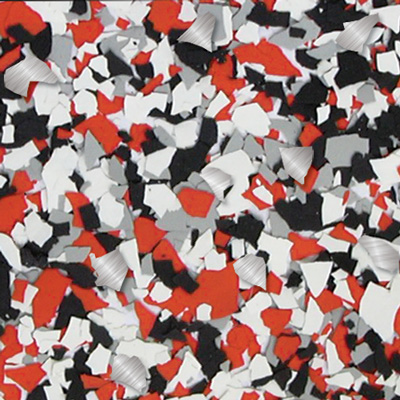
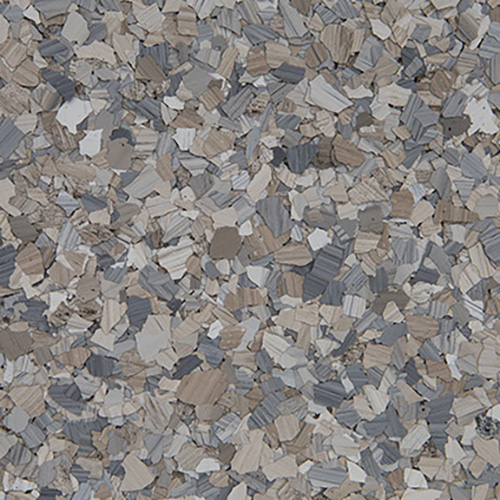
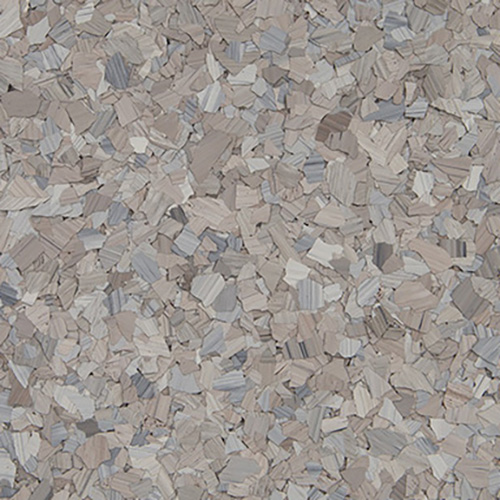
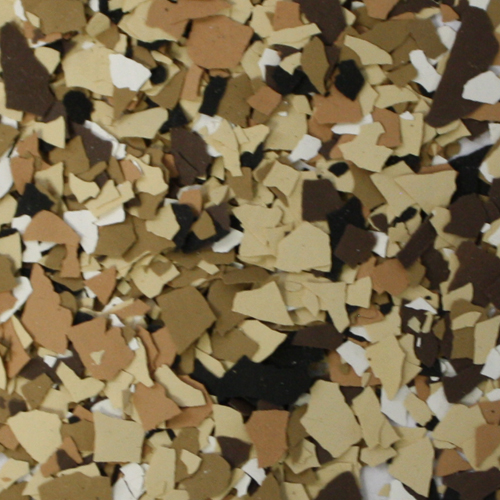
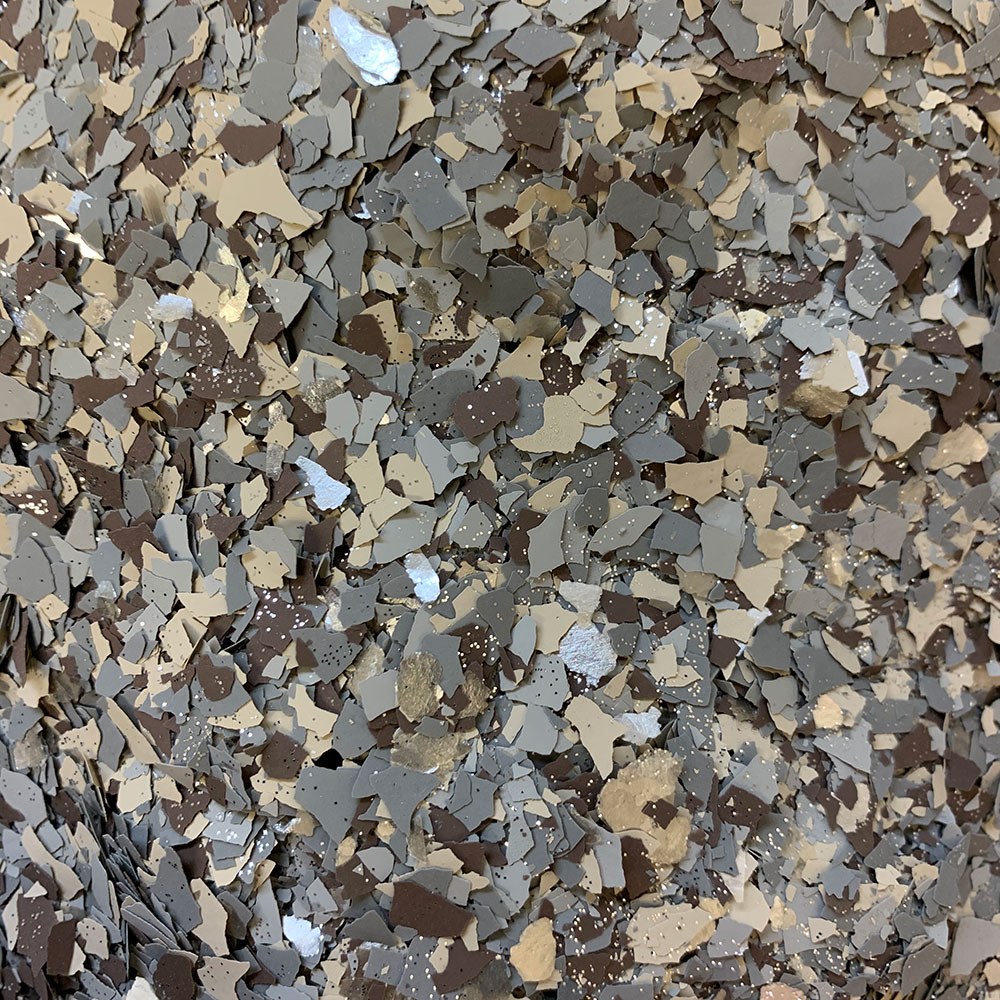
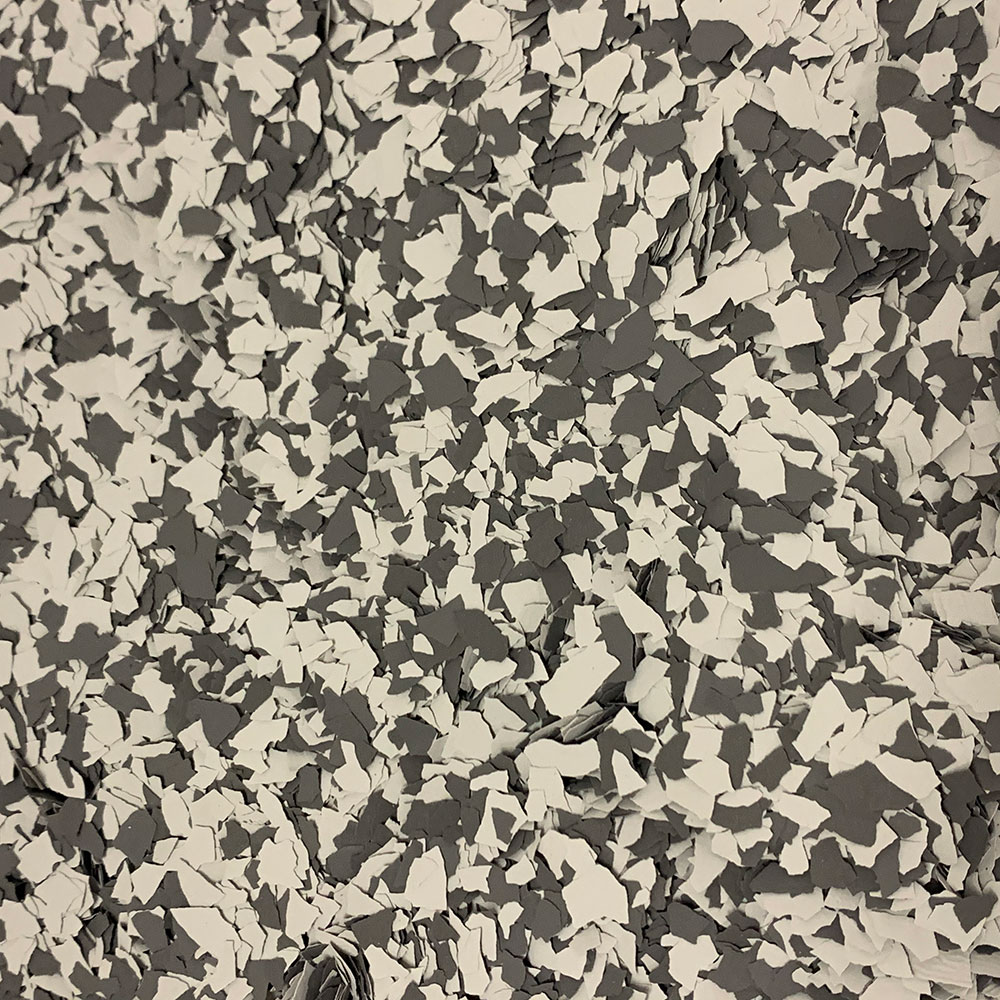
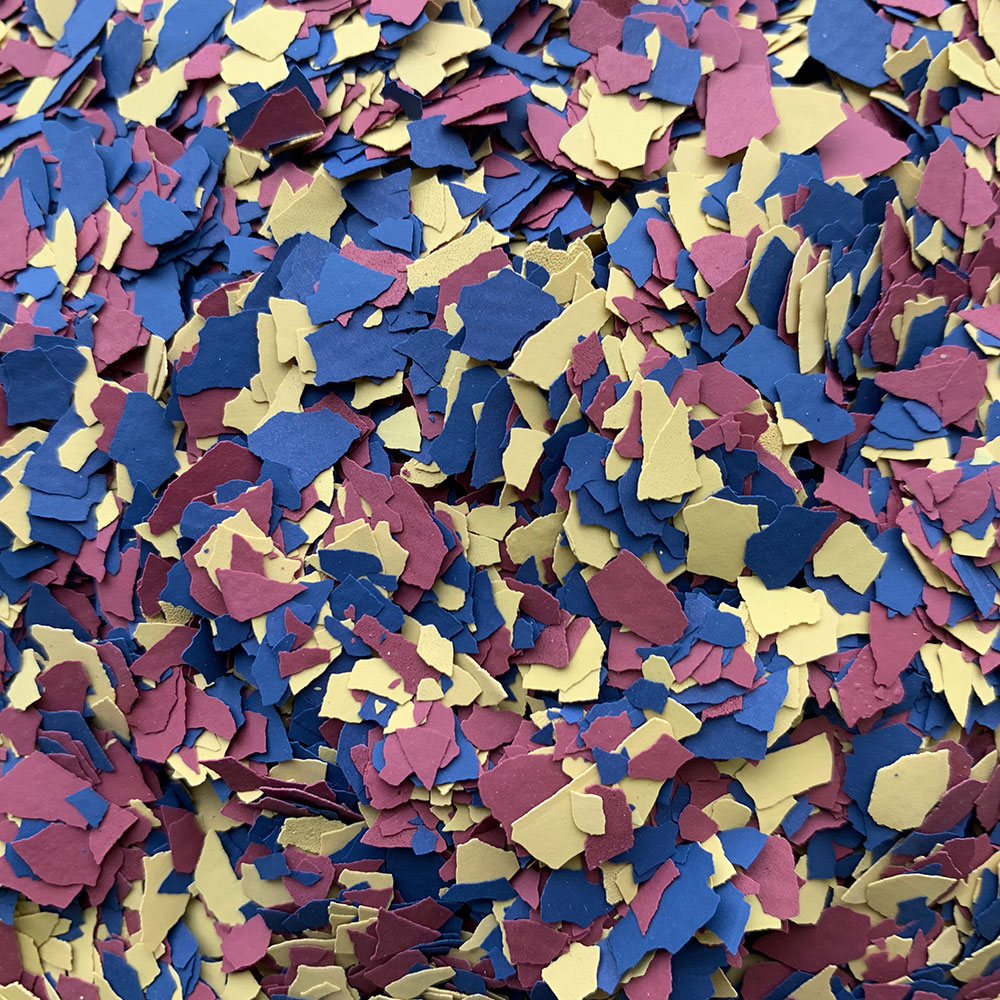
Apply by tossing a pinch-full upward toward the ceiling allowing them to float down into the wet basecoat (We recommend “basketball-shooter” style dispersion). By using the pinching method you will avoid clumping and keep the dispersion even. Be sure to have enough chips for desired broadcast.
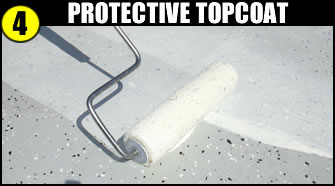
Before applying, wait overnight for the basecoat the efficiently cure. Mix part A & B together of the topcoat. Roll one even coat to entire surface. Topcoat may appear milky white but will dry crystal clear. Your floor will be ready for light traffic in as little as 16 hours, heavy traffic 36 hours.
